This article will show you the panel replacement procedure for Strukturoc metal wall panels.
Watch the Installation Video:
Before You Begin
- Removing the entire wall to replace a damaged panel is unnecessary.
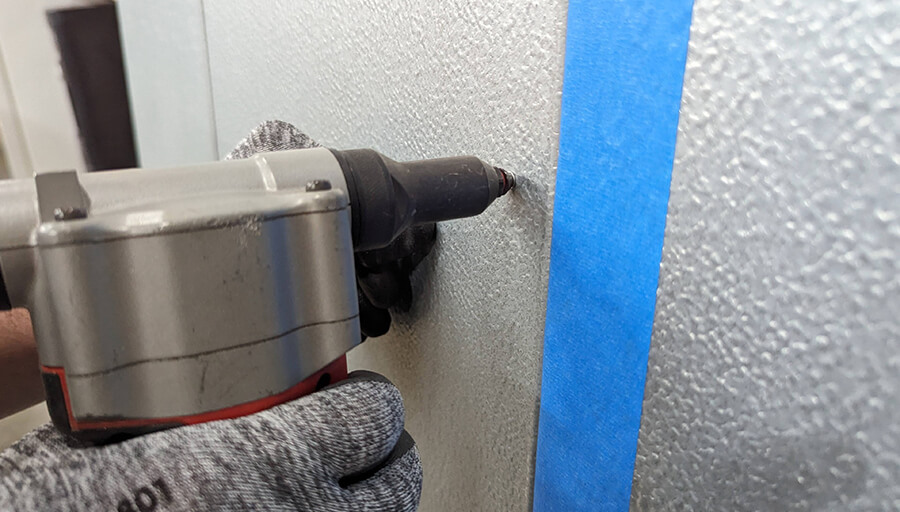
- Apply painter’s tape along the left edge of the panel, directly next to the damaged area.
- Use plywood sheathing to protect nearby panels while cutting with shears, a circular saw, or a grinding wheel.
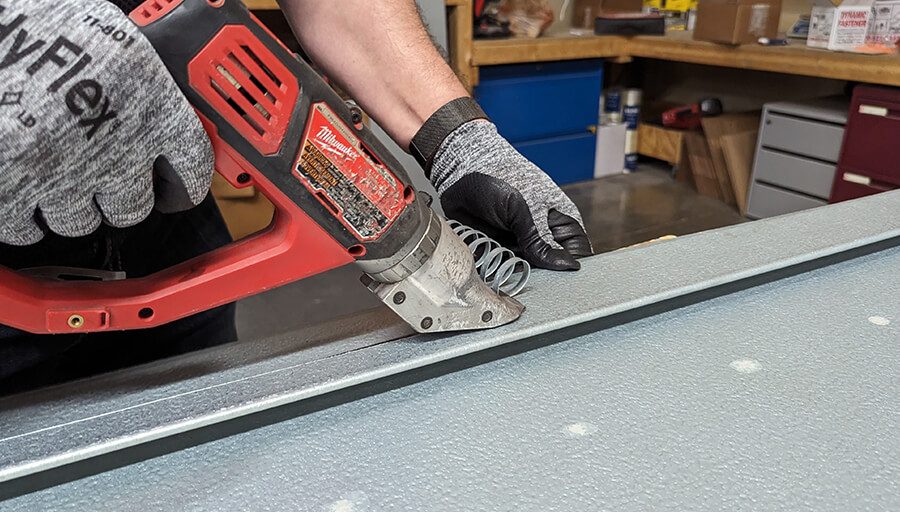
Step 1 – Cut the Damaged Panel
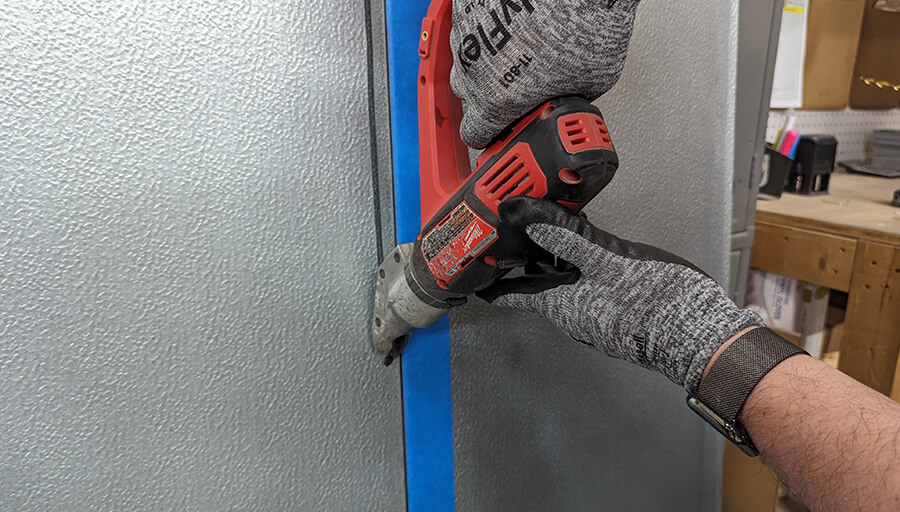
- Choose one of two options to cut the right side of the damaged panel:
- Use hand metal shears.
- Use metal cutting shears, a 4 ½ inch cutting wheel, or a circular saw.
- In either case, you’ll likely need a pilot hole. Drill a 1/16th inch hole on the right side of the panel, about ½ inch from the edge.
- Expand the pilot hole to ⅜ inch using a drill bit to accommodate the cutting tool.
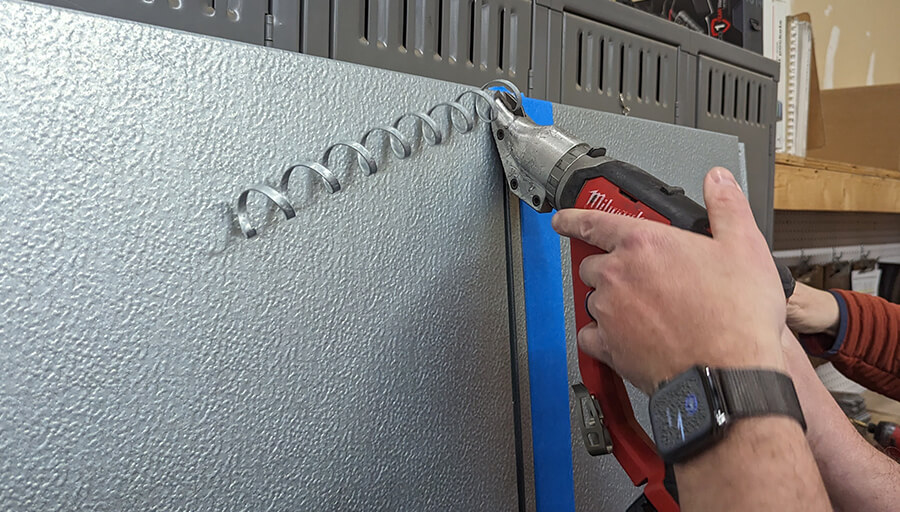
- Use hand metal shears to remove the factory tabs at the top and bottom of the panel.
- The panel should now be free to remove.
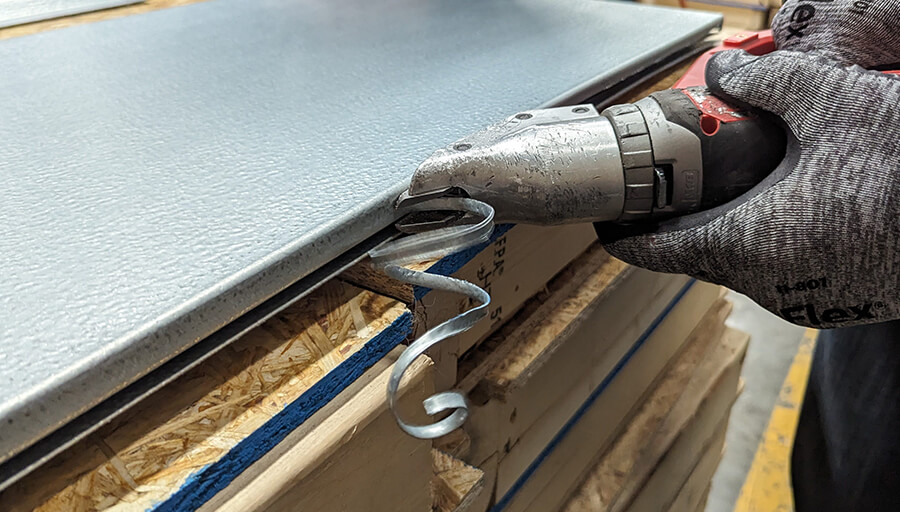
Step 2 – Cut the Remaining Panel
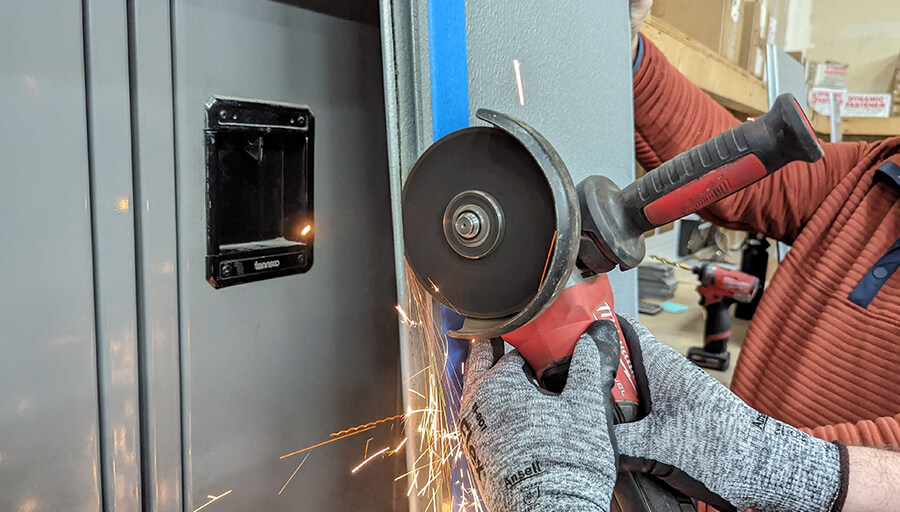
- Use a grinder with a cutoff wheel, metal shears, or a circular saw to remove any remaining metal from the damaged panel.
- Once cutting is complete, use compressed air to clean any metal shavings from the work area.
Step 3 – Attach the Support Flashing
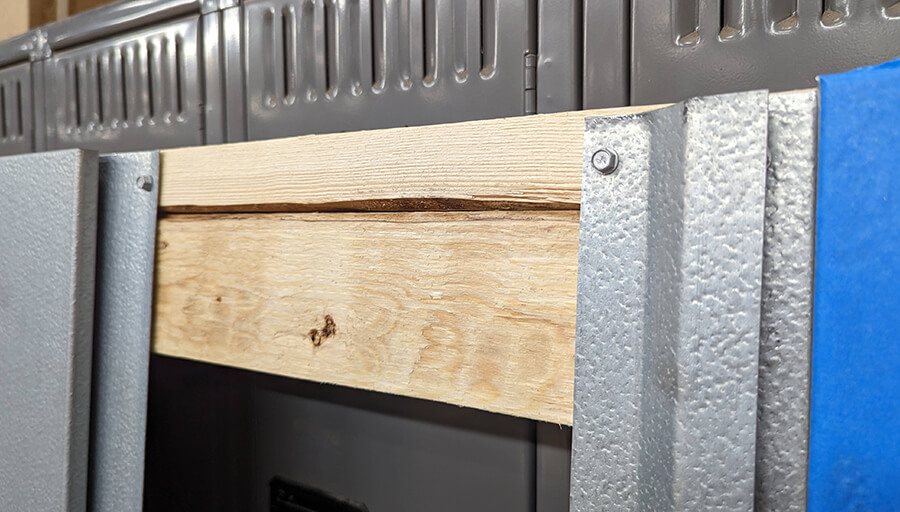
- Secure the CR108 support flashing a ½ inch to the right of the panel using building screws.
Step 4 – Cut Panel Tab
- Flip the new panel over outside of the work area.
- Place blankets or towels on the surface to protect it from metal shavings.
- Cut the leg or tab off the panel.
Step 5 – Cut Inside Panel Tab
- To remove the second area of the panel tab, drill a pilot hole off-center from the face of the panel using a 1/16th inch drill bit.
- Enlarge the pilot hole to ⅜ inch to allow the metal cutting shears to cut the entire length of the new panel.
- Finish by using hand metal shears to cut the remaining metal at the top and bottom of the panel.
Step 6 – Installing the New Panel
- After cleaning off metal shavings with compressed air, install the new panel by inserting the left edge into the remaining tab and rotating it down to the support flashing – CR108.
- Use blind pop rivets to attach the panel to the CR108 at 18 inches on center.
- Cover the heads of the pop rivets with matching textured touch-up paint.
This concludes the Strukturoc panel replacement procedure. For additional product or installation information, don’t hesitate to contact us.